Yunus Emre
Software Engineer
PowerApps SQL Server Integration

When creating an application using PowerApps, we typically store our data on SharePoint. However, in some cases, depending on the requirements, we may need to use SQL Server. Therefore, in this article, we will cover PowerApps SQL Server integration, including how to connect to both cloud-based and on-premise SQL Server tables.
PowerApps SQL Server Connection
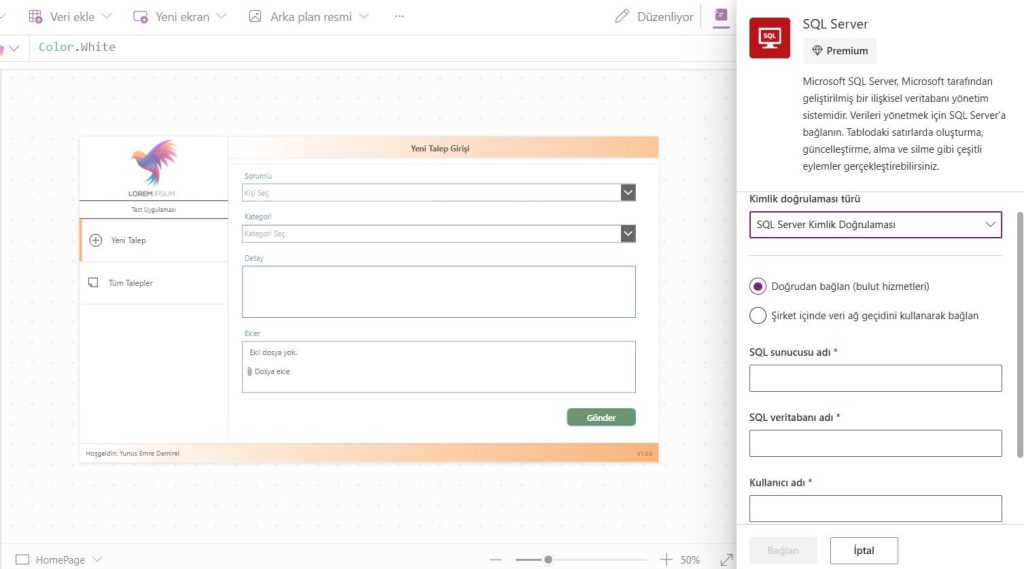
First, let's try connecting to an SQL table that is accessible over an external network, as it is easier. To do this, we will go to the connections within PowerApps and select a SQL Server connector. Then, on the screen that appears, we can connect to our table by entering the server name, database name, username, and password.

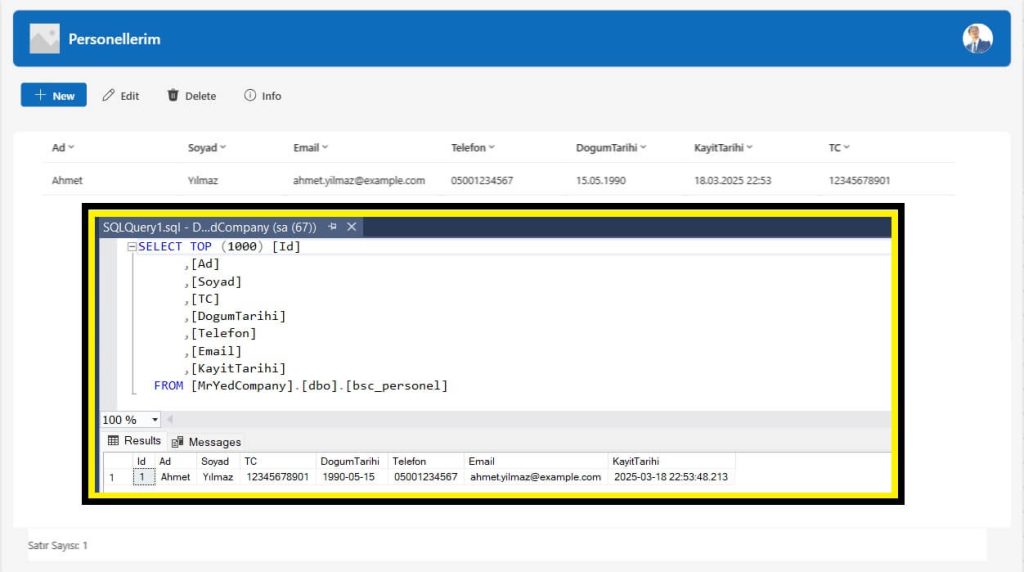
I had previously created a table named Employee. I tried to pull this table. To test it, I wrote the following code in a button to load my table into a collection.
ClearCollect(onlineSqlData;Employee)I click the button to execute the process and then check my onlineSqlData variable from the variables section on the left side of my app. If the operation is successful, you will see the data from your table displayed on the screen.
On-Premise SQL Server Connection
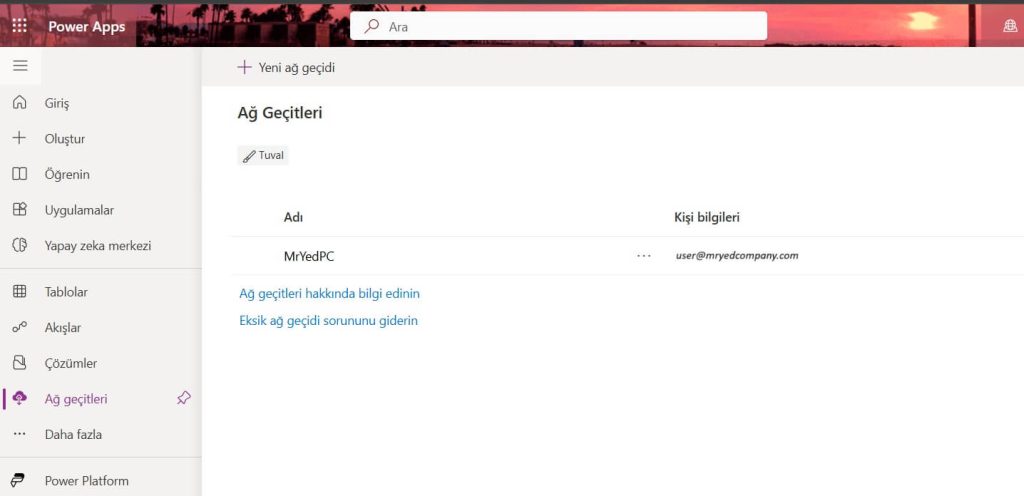
To connect to a SQL Server that is not accessible over an external network, we need to set up a gateway in PowerApps. To do this, we go to the PowerApps homepage. You likely won’t see the gateway section in the left sidebar initially. For this, you need to click the “More” button and navigate to the “Discover All” section. Here, you will find the “Gateways” option. When you click on the “New Gateway” area on this screen, a file named “GatewayInstall.exe” will be downloaded. You can install this application on the computer where the SQL Server is installed. There is no additional configuration during the installation process. You just need to log in with the Office365 account you use for PowerApps

At this stage, we can now enter our app and establish our connection. In PowerApps, we need to connect to our data using the SQL Connector from the “Add Data” section. I connected using SQL Server Authentication. I clicked on the “Connect using on-premises data gateway ” option and selected my gateway from the section below. After that, I entered my credentials, such as the username and password, and successfully established my connection.

You can use this connection we have established not only for PowerApps but also for Power BI.
SQL Server Connection Performance
I created a simple app in PowerApps to test the performance. In this app, I used a table and two buttons. The table will display the data from the database, the first button will load the data, and the second button will delete the data.
Summary;
- Pull and list data from the database,
- Load data into the database,
- Pull and list current data,
- Select a row and delete it,
- We will pull and list the current data.
Performance testing;
- Sharepoint -> 3211 ms
- Cloud SQL -> 3872 ms
- On-Premise SQL -> 5636 ms
My server's download speed is 1000 Mbps, and the upload speed is 185 Mbps.
The device hosting the On-Premise SQL Server has a download speed of 49 Mbps and an upload speed of 13 Mbps. Here, a device with a better connection will undoubtedly deliver better performance.
Note: The durations were taken from the PowerApps live analytics screen and represent the total completion time of the operation.

PowerApps’de oracle database’e bağlandınız mı işlemler aynı mı bir proje için bağlanmam gerekiyor
Sql ve Oracle için premium şart mı?